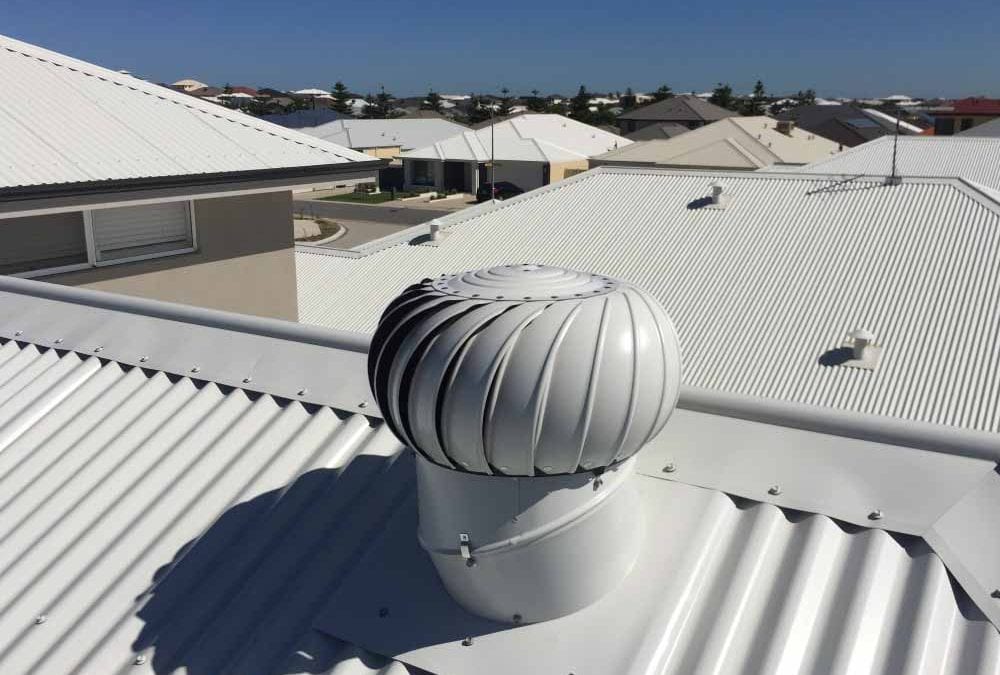
How To Install A Whirlybird On Tin Roof

How To Install A Whirlybird On A Metal Roof Youtube

Https Encrypted Tbn0 Gstatic Com Images Q Tbn 3aand9gcrv8wxsypnkpx489d0lc5kgktyfnijtxtpguq Usqp Cau

How To Install A Whirlybird On A Corrugated Roof The Expert
How To Install A Whirlybird Like A Pro Roof Ventilation Whirlybirds Australia

Roofing Companies In Cedar Rapids Iowa Whirlybird Roof Vent Installation

How To Install A Roof Whirlybird
If you re a qualified tradesperson you may like to follow these for whirly bird vent installation also.
How to install a whirlybird on tin roof.

How To Install A Whirlybird Roof Vent Diy Youtube

How To Install A Power Air Fan On A Metal Roof Youtube
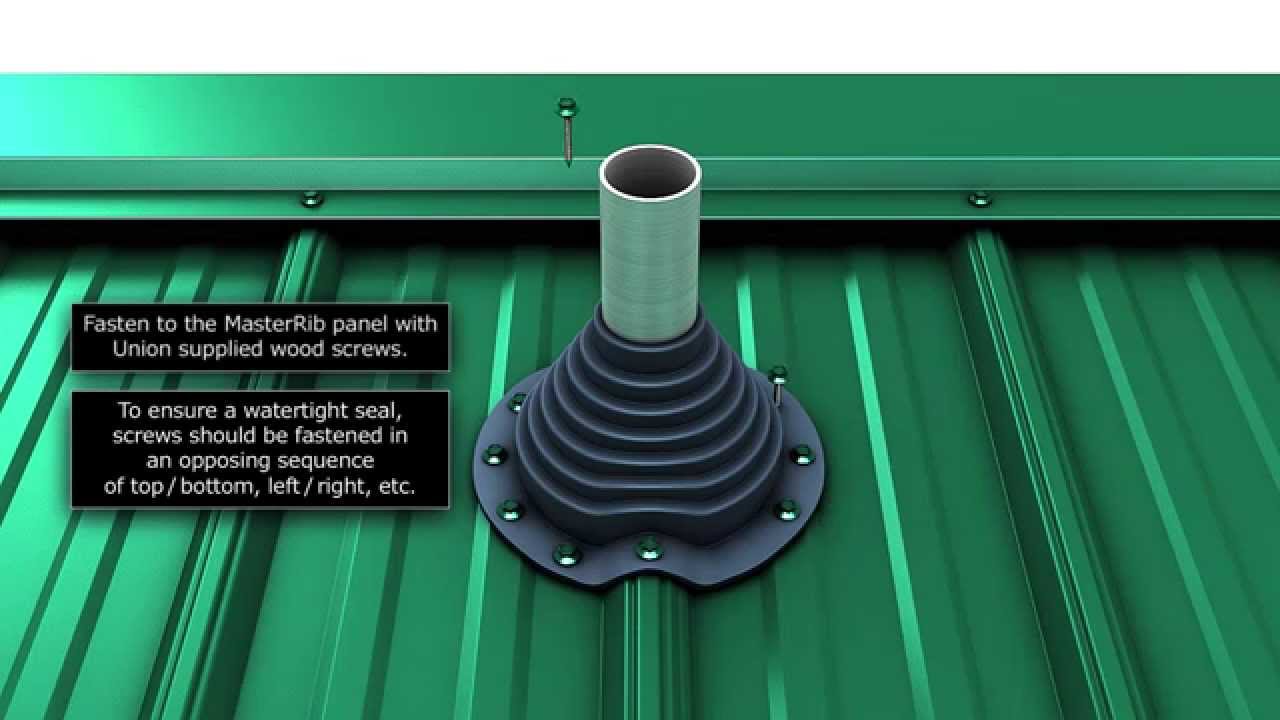
How To Install A Metal Roof Pipe Boot Youtube

How To Install A Whirlybird The Easy Quick Diy Guide
Source : pinterest.com
