Installing A Metal Roof Valley

How To Install A Metal Roof Valley For Union S Masterrib Panel Metal Roof Roof Installation Corrugated Metal Roof

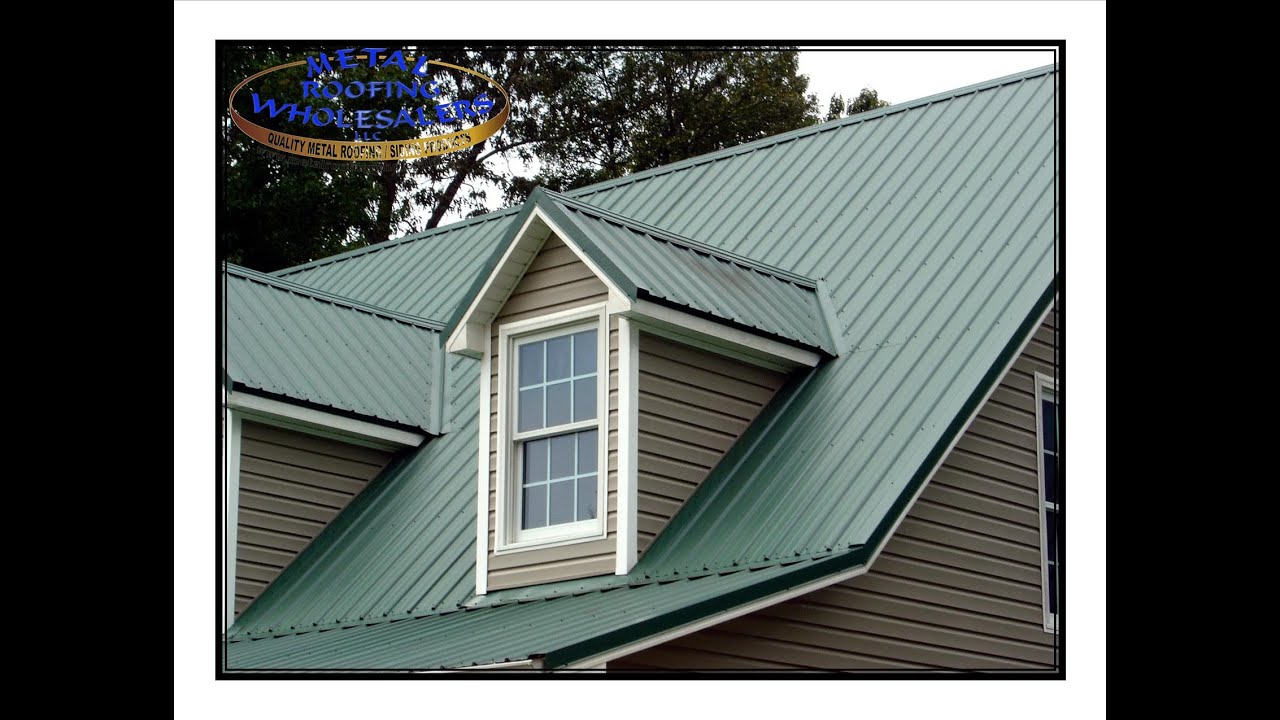
Pin On Metal Roofing

Dormer Valley Amazing P Installing Metal Roofing Around Dormers Big Metal Roof Panels Metal Roof Panels Metal Roof Roof Panels

Pin On Ideas For The House

Sw Valley On House Gazebo Roof House Roof Diy Roofing

Proper Metal Roof Installation The Right Stuff Classic Metal Roofs Llc Metal Roof Installation Metal Roof Roof Cladding

Best practices for sealing the metal roof valley vary based on the slope of the roof.
Installing a metal roof valley.

How To Flash Metal Roofing Systems Valley Installation Metal Roofing Systems Metal Roof Roofing Systems
Pin On Front Porch

You Ll Need To Install A Valley Board Or Nailer Over The Old Roof Shingles To Create A Solid Nailing Surface For Installi Building A House Roof Home Additions

This Picture Illustrates A Text Book 5 Ribbed Valley To Field Transition And A Step Flashed Side Wall Det Roof Detail Country Style Homes English Country Style
Source : pinterest.com
